AKVIS AirBrush Examples
AKVIS AirBrush allows you to create artistic illustrations.
This program allows you to create unique designs that can be used on t-shirts, mugs and posters.
 Original Image |
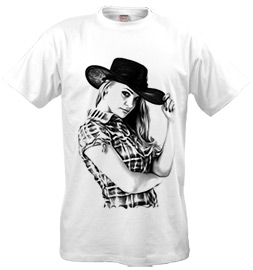 Final product |
Your virtual t-shirt designs can be used on your online store, web pages, etc.
If you want to make a real t-shirt, print the airbrushed image onto special transfer paper or use a printing service.
In this tutorial, we use the AKVIS AirBrush plugin for Adobe Photoshop.
Step 1. Open your image in Adobe Photoshop and make a copy of the layer (Layer → Duplicate Layer).
Step 2. Call the AKVIS Airbrush Plugin (AKVIS → Airbrush Filter).
The preview window shows a portion of the image as it would be processed using the default settings.
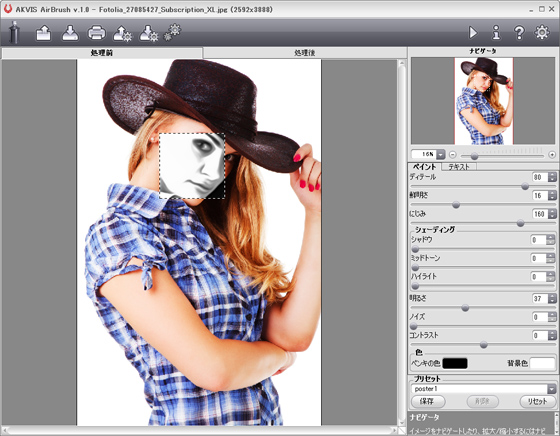
AKVIS Airbrush Space
Step 3. Choose one of the presets or adjust the settings to your liking to get the most out of your images.
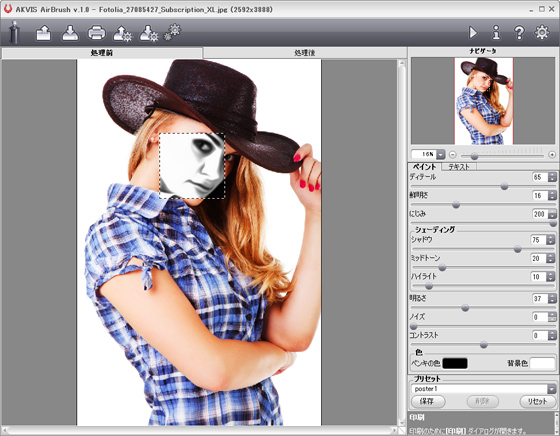
Adjust your settings
Step 4. Apply the results to process the entire image and then return to Photoshop.
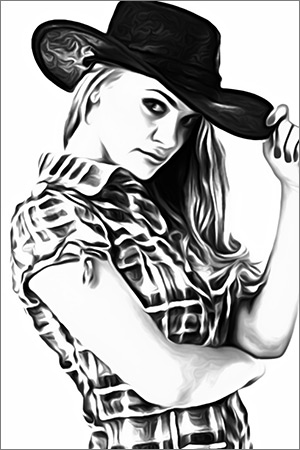
Processing result in AKVIS Airbrush
Step 5. Image Canvas Size: Use the command to increase the image area.
Activate the Smudge tool and apply it to smooth the edges of the design (hat, arms, bottom of shirt).
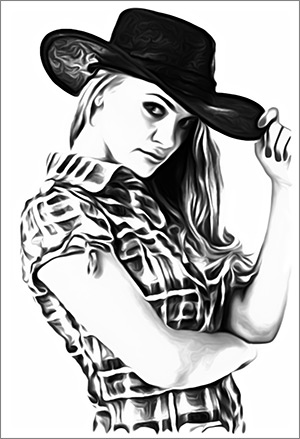
After applying the Smudge tool
Step 6. Open the image of a white T-shirt. Place your design on the T-shirt and select Multiply mode.
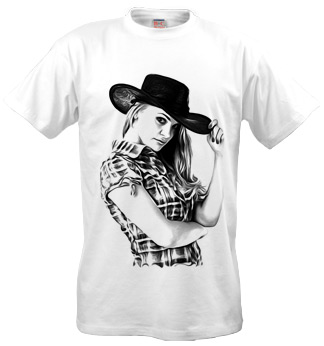
white t shirt designs
Step 7. Adjust → Threshold. If you want to make your image look more contrasty rather than gray, apply the Threshold effect.
Other photo examples: After applying AirBrush |
 Additionally, a threshold is applied |
This design can be placed on a black t-shirt. Change the blend mode to Screen. You can also add text to the image.

Cool black t-shirt design with text
Your friends will be impressed with this unique custom t-shirt!