AKVIS AirBrush Video Product Description
|
AKVIS AirBrush Video
AKVIS AirBrush Video creates a spray paint effect for your video. The AKVIS AirBrush Video plugin can be used in After Effects, Premiere Pro and other video editing programs. 
The plugin adds depth and visual effects to your videos that will immerse your audience, making them more eye-catching, full of movement and energy. 
AKVIS AirBrush Video comes with a large number of ready-to-use presets. You can use them as they are or modify them to create your own. The plugin is highly configurable and gives you complete control over the effect settings to suit your preferences. 
How to use the AirBrush Video Plugin
AKVIS Sketch Video Classic turns your video into a hand-drawn drawing style. Step 1. Open the project in a video editor. For videos with low contrast, you can use Curves. 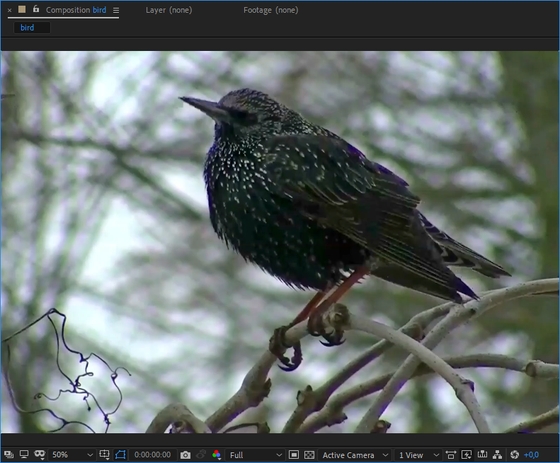
Step 2. Apply the AKVIS AirBrush Video plugin. 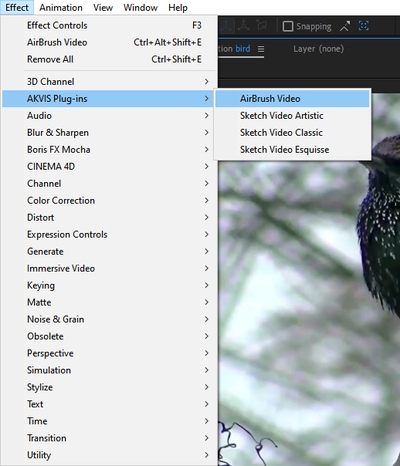
In Adobe After Effects, select AKVIS Plugins>AirBrush Video from the Effects and Presets panel (or the Effects menu) and drag the effect to the Composition panel. 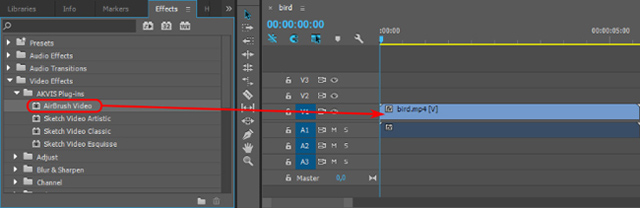
In Adobe Premiere, select Effects -> Video Effects -> AKVIS Plugin -> AirBrush Video and drag it to the timeline. 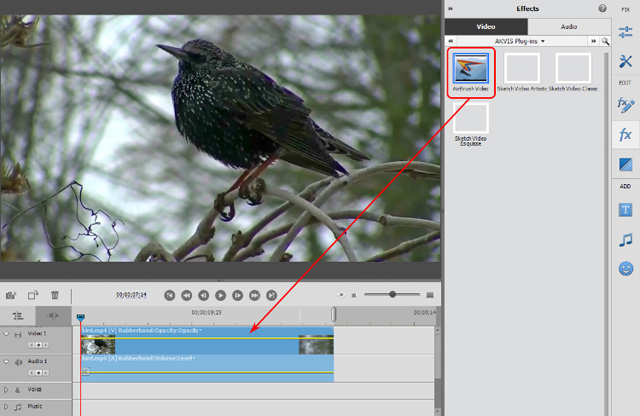
The airbrush effect will be displayed in the current frame. 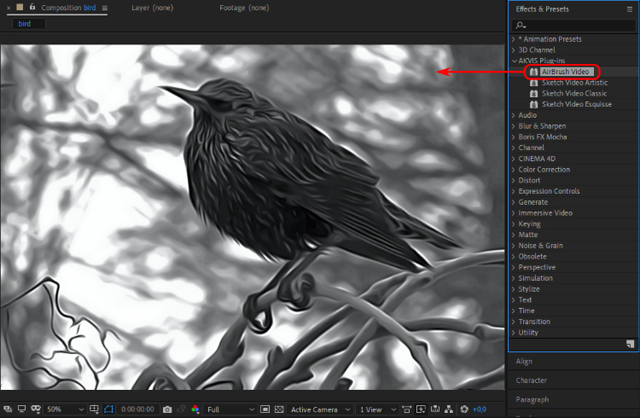
Step 3. Adjust the AirBrush Video settings in the Effect Control Panel. To reset a parameter to its default value: Note: You can also use one of the pre-defined AKVIS presets. 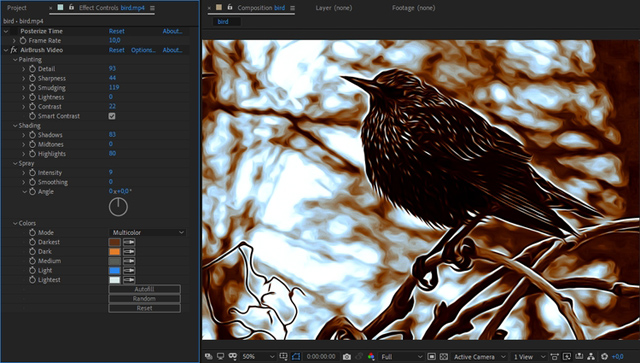
Step 4. You can save your favorite settings as a preset. Step 5. Save the video. Adobe After Effects : Select Configure > Add to Render Queue. In the Render window, choose a destination folder, specify a file name and conversion settings. Click the Render button. Adobe Premiere Pro : Select your clips in the Project panel and choose File > Export > Media. After adjusting the settings in the Export Settings window, click the Queue button to complete the export using Adobe Media Encoder. Adobe Premiere Elements , click Export and Share on the Premiere Elements toolbar, adjust the format settings, and then click Save. Alternatively, you can use the File > Export and Share command. EDIUS Pro , select File > Export > Print to file, and then click Export. |