AKVIS Artifact Remover AI usage example
AKVIS Artifact Remover AI improves image quality, no matter how compressed the image is. It uses a trained neural network to remove JPEG artifacts and distortions, reduce pixelation and smooth edges.
The program has three image enhancement modes available depending on the quality of the processed image: Low compression, High compression and High compression (noisy). Try each mode to find the one that gives you the best results.
As an example, we will use the same JPEG image saved at different qualities.
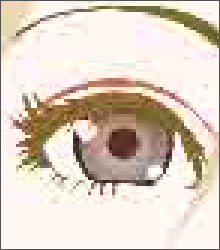 Low Quality |
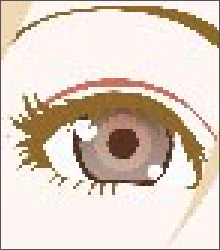 Medium Quality |
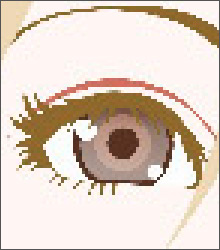 high quality |
1. Open the low-quality (highly compressed) image in AKVIS Artifact Remover AI.
Select the low compression mode. The processing result is displayed in the preview window. It is clear that this mode will not produce good results.
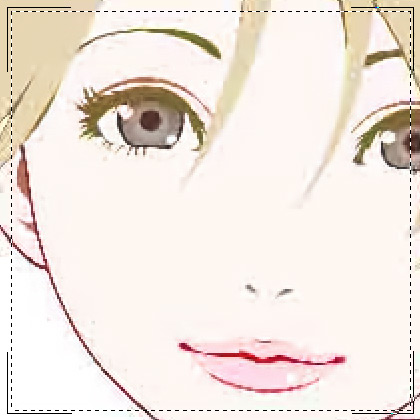
Switch to high compression mode. Unlike before, this gives better results.
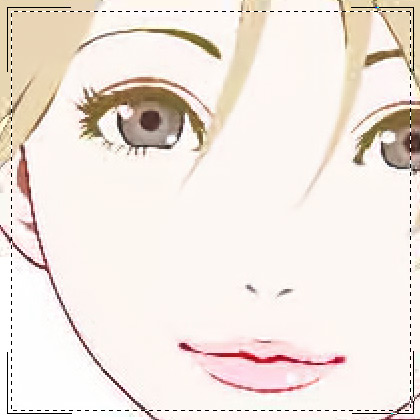
If your original image is noisy, you can use the High Compression (Noisy) mode, but while removing noise, you may also remove details or discolor the image.
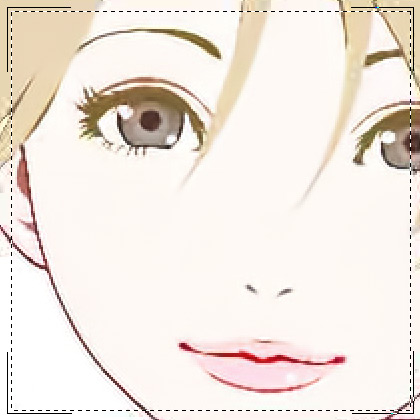
2. Open the medium quality image.
Select the low compression mode. The result of the process is displayed in the preview window, which is great.
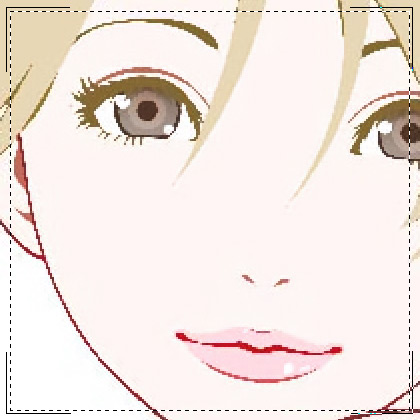
Switching to high compression mode also produced good results.
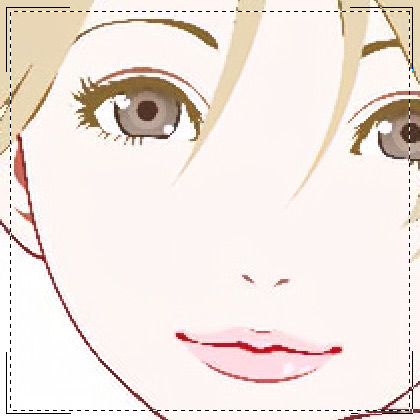
3. Open a high quality image (saved with low compression).
Select low compression mode - great results!
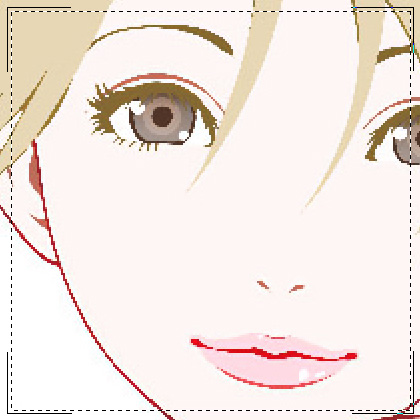
Switches to high compression mode. For images of medium quality and above, this mode does not produce good results.
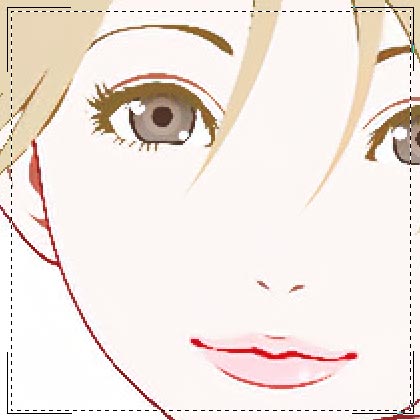
If you are unsure of the quality of your image, we recommend that you judge it by sight or try each mode and choose the one that gives the best results.
If you feel that the processed image is not sharp enough, you can use the Sharpness parameter to adjust the edge sharpness, but high values may also introduce unwanted noise and artifacts.
 to process the entire image, after which you can save it to disk, print it or publish it.